
Tape your feet with kinesiology tape

Whether jogging, playing soccer or hiking, our feet are always challenged and exposed to intense stress. In addition to the stress caused by the activities themselves, there are also the different soil conditions and shoes. Sprains or other strains can easily occur which restrict the mobility of the foot or ankle and also affect the ligaments and tendons in this area (e.g. the Achilles tendon).
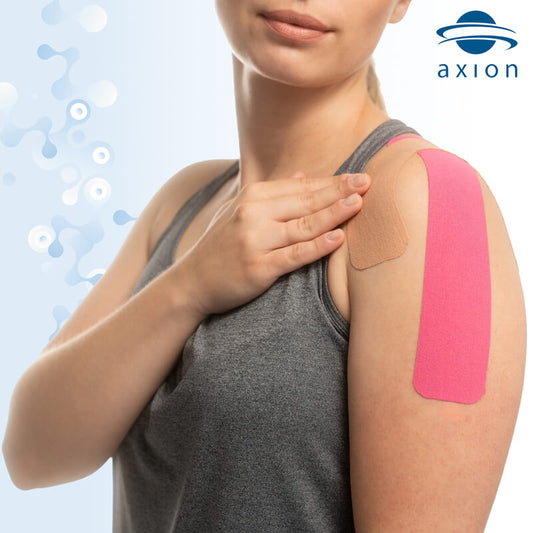
Using kinesiology tape can help you maintain mobility in the ankle while stabilizing it by taping the foot. This is possible due to the high elasticity of the material, compared to conventional tape, for example. For example, kinesiotape is used to support slight pain in the ankle. In sports such as basketball, volleyball or handball, the foot or ankle is heavily stressed due to the frequent jumping and landing and is at risk of spraining. Preventive taping of the feet with kinesiology tape can be particularly useful here.
Step-by-step instructions for taping with kinesiology tape
-
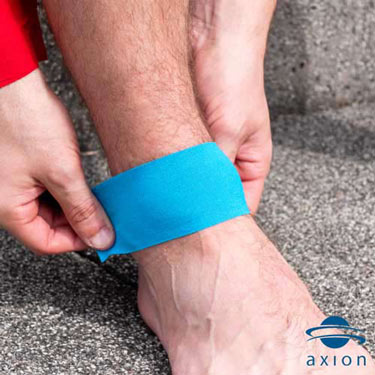
Tape foot: Step 1
-
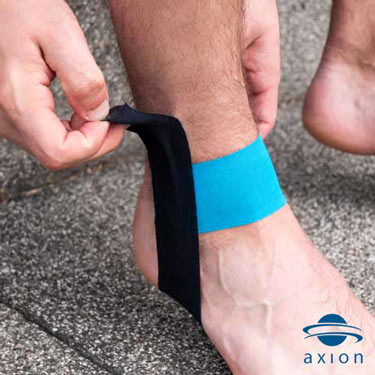
Tape foot: Step 2
-
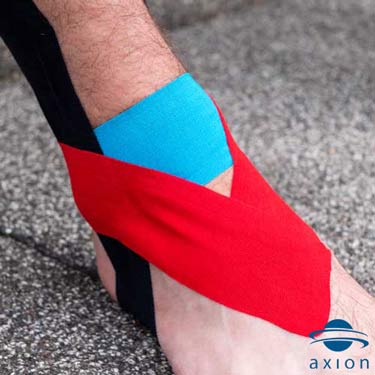
Tape foot: Step 3


axion kinesiology tapes for all applications
Tip: Enter the code " tape10 " in the shopping cart and get a 10% discount on the kinesio tapes.
-
Kinesiology Tape - Set of 6 - Uncut
Regular price €21,95Regular priceUnit price €0,73 per m -
2 rolls Kinesiology Tape 500x5 cm uncut by axion
Regular price €9,95Regular priceUnit price per€0,00Sale price €9,95 -
Set of 12 mixed kinesiology tape 5cm uncut by axion
Regular price €31,95Regular priceUnit price per -
Set of 3 Kinesiology Tape 5cm Uncut by axion
Regular price €11,95Regular priceUnit price per


You need these types of tape for the application
-
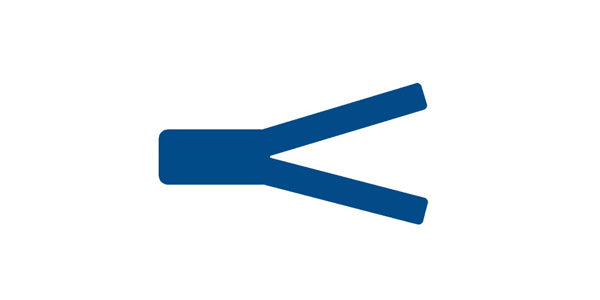
0 Y tapes
-

3 i tapes


Tips for using kinesiology tape
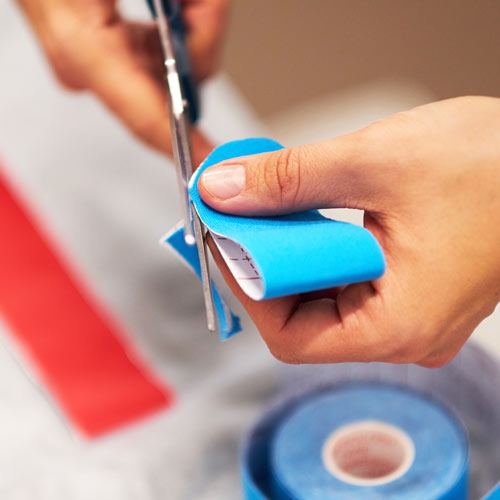
Round off the corners
Before taping, round off the edges with scissors so that the corners don't peel off so easily. You don't need to do this with pre-cut kinesiology tapes because the corners are already rounded
Stroke the tape several times
After you have applied the tape, rub the tape several times to activate the adhesive
Clean skin
Make sure your skin is dry and clean before taping.
It is advisable to shave the area beforehand when using it with thicker hair, so that the kinesiology tape holds better and it is easier to remove after use.
Creases on the tapes during use are normal
It is normal and intended that waves may form on the tape after application during muscle relaxation. These are even intended and are called convolutions.
To ensure the compatibility of the kinesiology tape with your skin, we recommend that you test a small piece of tape on the skin in advance and leave it there for about 30 minutes.
If you experience itching or an allergic reaction, remove the Kinesiology Tape and stop using it.
© yavdatstock.adobe.com